
Difficulty: 🔧 out of 5 Wrenches
Time: 30 Mins
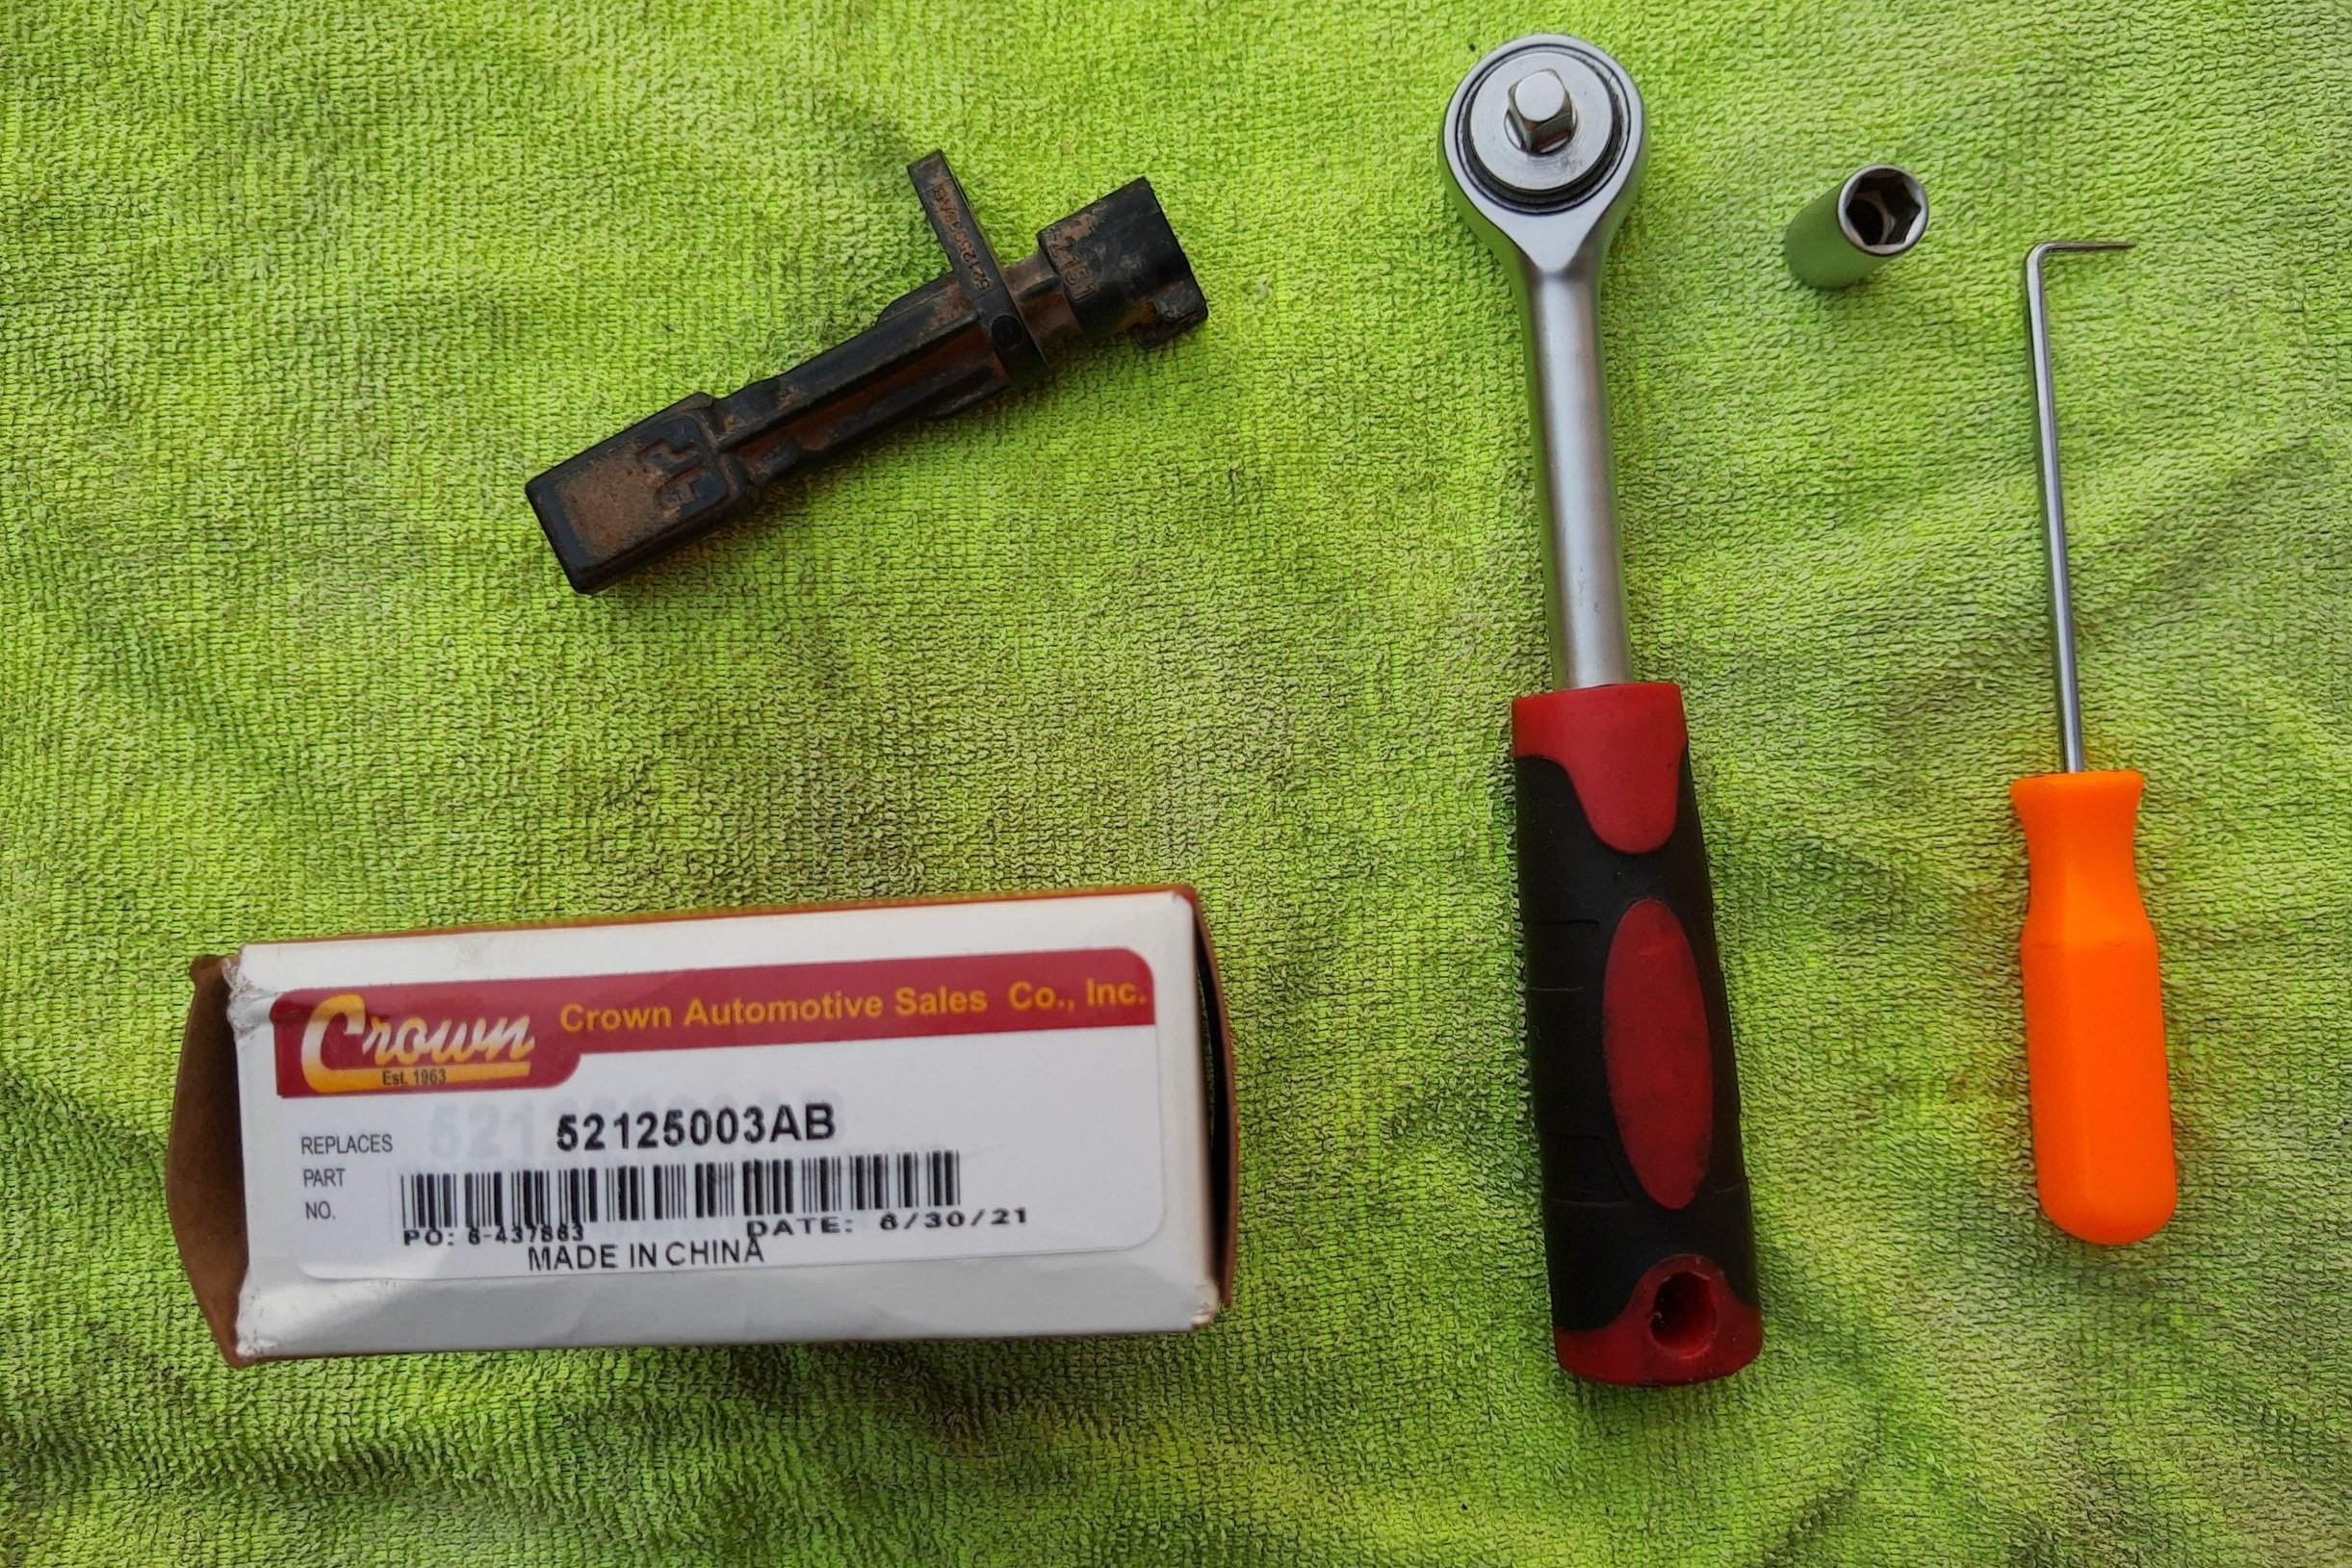
Tools:
-
¼ Drive Ratchet
-
8mm socket
-
Small pick or small flat-head screwdriver to release connector (optional)
Replacing a rear wheel speed sensor on your Jeep Wrangler JK may sound intimidating, however this quick and easy repair job can be done in the driveway. The typical sign of a faulty wheel speed sensor is a combination of the BRAKE, ABS, Electronic Stability Control (ESC), and Brake Assist System (BAS) malfunction indicator lights. Since the JK instrument panel does not display ABS codes, confirm your wheel speed sensor is the issue by heading to the nearest auto parts store with an ABS code reader, or purchasing an OBD II code reader with an ABS system function yourself.

ABS, Brake, ESP BAS, and ESC Malfunction Indicator
Here are some codes that may indicate a rear wheel speed sensor:
-
U140B – Implausible Left Rear Wheel Speed Signal Received
-
U140C – Implausible Right Rear Wheel Speed Signal Received
-
U1417 – Implausible Left Wheel Distance Signal Received
-
U1418 – Implausible Right Wheel Distance Signal Received
-
C1020 – Left Rear Wheel Speed Sensor Circuit
-
C1021 – Right Rear Wheel Speed Sensor Circuit
The JK Wrangler uses identical wheel speed sensors on the left (driver) and right (passenger) side. The front axle sensors are not interchangeable with the rear, so ensure you are purchasing JK Wrangler rear wheel speed sensors. The current Mopar part number is 52125003AB for the 07-18 JK Wrangler.

1. Remove factory connector from wheel speed sensor. Using a pick or small flathead driver, pull the red tab away from the wheel hub with one hand, while depressing the black button on the connector with the other hand. Once the red tab is released, you should be able to separate the connector from the wheel speed sensor. If this proves to be difficult, you can remove the sensor first. *

2. Remove bolt attaching wheel speed sensor to hub. Most JK rear wheel speed sensors are attached to the hub with an 8mm bolt. With a ¼” drive ratchet, I was able to reach the bolt head even with the connector fully attached.

3. Remove wheel speed sensor from hub. Once loose from the hub, rotate the wheel speed sensor to the rear of the vehicle to create a little more space for removal.

4. Attach New Wheel Speed Sensor to Hub. Replace sensor and tighten using your 8mm socket. The new wheel speed sensor came with dielectric grease and a new allen head bolt. I opted to reuse the original hex head bolt to match the passenger side.

5. Replace factory connector. Slide the factory connector onto the new wheel speed sensor with the red locking tab in the out position. Once you hear a click and ensure the factory connector is secured to the new wheel speed sensor, push in the red locking tab.
The malfunction indicator lights should clear upon startup if the wheel speed sensor was the only issue! Replacing your JK rear wheel speed sensor at home is a simple repair that will save you money! This job is flagged for 1.0 hour at the dealership, which would run about $110/hr.
*Note: If releasing the red, locking tab from the connector is difficult, you may remove the wheel speed sensor from the hub while the connector is attached. After a brief fight with the connector, I opted to remove the wheel speed sensor before disconnecting the connector. Removing the connector and sensor as a unit will allow easier access to the black release button on top.
Comments are closed